Creating a Simple Expense Dashboard in Notion: A Step-by-Step Tutorial
Are you looking to track your expenses in Notion but don’t know where to start? This tutorial will walk you through creating a simple yet effective expense tracker with visual charts to help you monitor your spending habits. By following these steps, you’ll learn how to set up databases, create input forms, and visualize your data - all within Notion’s versatile workspace.
Why Build an Expense Dashboard in Notion?
Notion offers the perfect balance of flexibility and structure for personal finance tracking. Unlike specialized budgeting apps, Notion lets you customize your expense tracker exactly how you want it while keeping everything in your existing workspace. Plus, it’s free to get started!
Setting Up Your Expense Database
The foundation of any good expense tracker is a well-structured database. Here’s how to create one:
- Begin by clicking the ”+” button in the left sidebar next to the “Private” section
- Name your new page “Expense Dashboard”
- Create a separate database by clicking the same ”+” button again in the “Private” section
- Select “Database” from the options that appear
- Now, customize your database with the following properties:
- Rename the default “Name” column to “Description”
- Add a “Number” property called “Amount”
- Add a “Date” property called “Payment Date”
- Add a “Select” property called “Category”
- Add a few sample entries to your database to visualize the results later
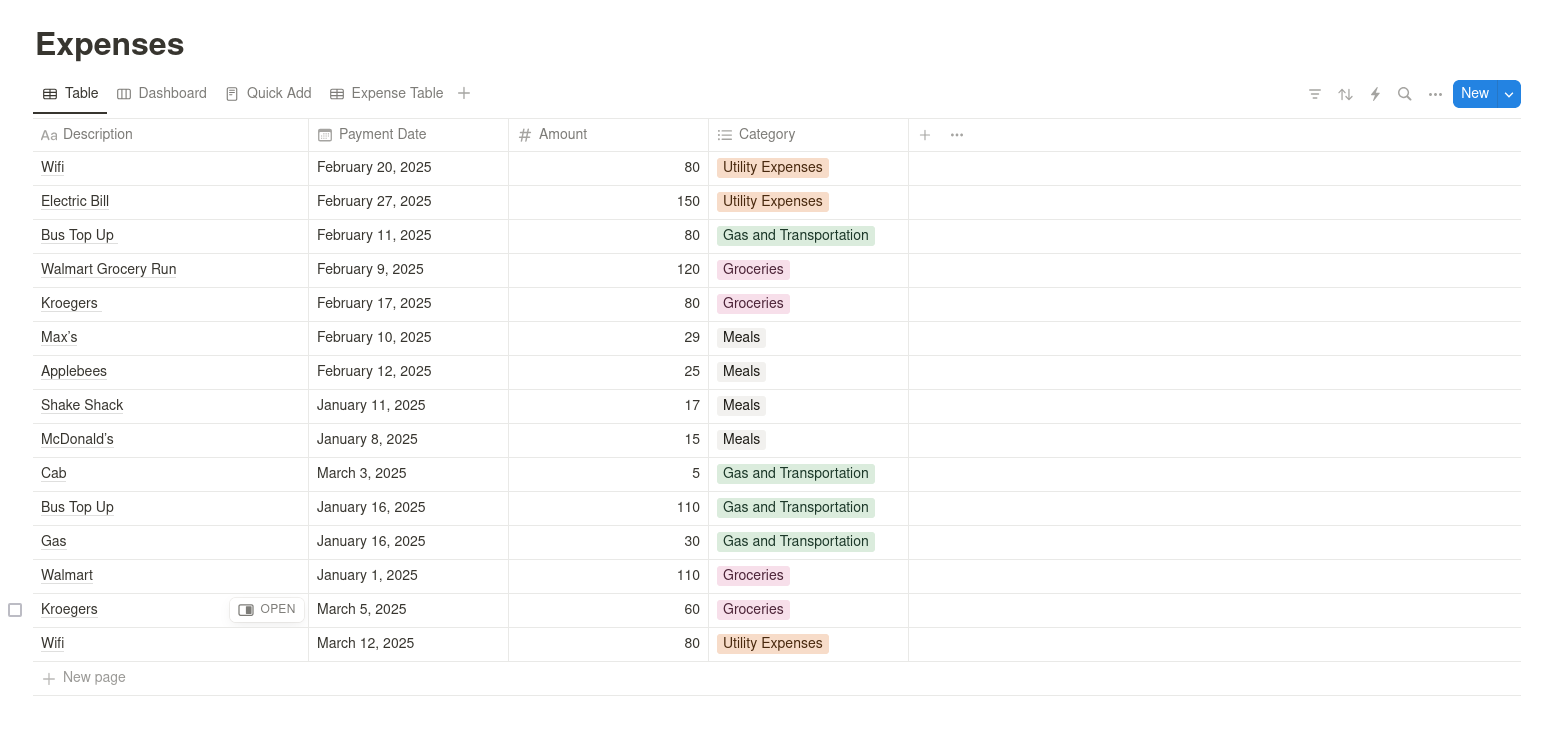
The key to an effective expense tracker is thoughtful organization of your categories. Consider including categories like Food, Transportation, Housing, Entertainment, and Utilities to cover most common expenses.
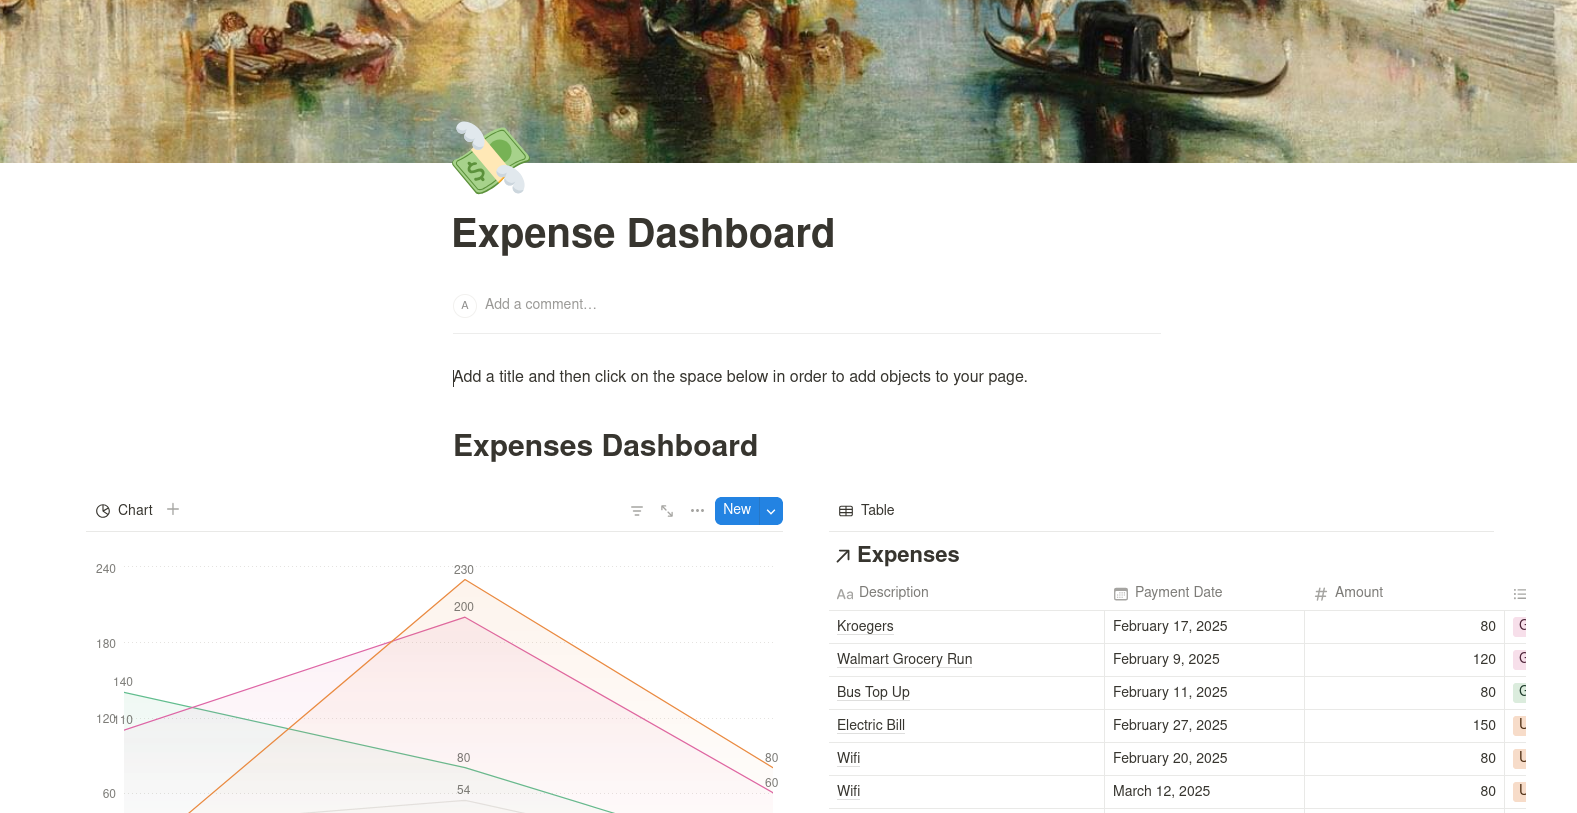
Building Your Dashboard Page
Now that your database is ready, it’s time to create a dashboard that combines data entry with visualization:
- Navigate back to your “Expense Dashboard” page
- Click in an empty space and type “/database” to bring up the command menu
- Select your newly created expense database from the dropdown
- Press Enter to create a new block below the database
- Type “/chart” to add a visualization
- Choose a chart type (bar or line charts work well for expenses)
- Configure your chart:
- Set X-axis to “Payment Date” and group by “Month”
- Set Y-axis to “Amount” with the “Sum” calculation
- Arrange these elements on your page for optimal viewing
This simple setup gives you both data entry capabilities and immediate visual feedback on your spending patterns.
Customizing Your Experience
To make your expense dashboard even more useful:
- Create different views of your database (Table, Calendar, Board) for different perspectives on your spending
- Add a formula property to calculate running totals or monthly averages
- Use filters to focus on specific categories or date ranges
- Color-code your categories for faster visual recognition
Why This Template Works
The power of this Notion expense template lies in its simplicity. By combining a straightforward database with visual charts, you get:
- Easy data entry for quick expense logging
- Automatic visualization as you add new expenses
- Flexibility to customize as your needs evolve
- Everything centralized in your Notion workspace
Whether you’re a student managing a tight budget or a professional tracking business expenses, this template provides a solid foundation that can grow with your needs.
By following this tutorial, you’ve created more than just an expense tracker—you’ve built a personalized financial dashboard that gives you insights into your spending habits at a glance, all without leaving Notion.
Advertisement